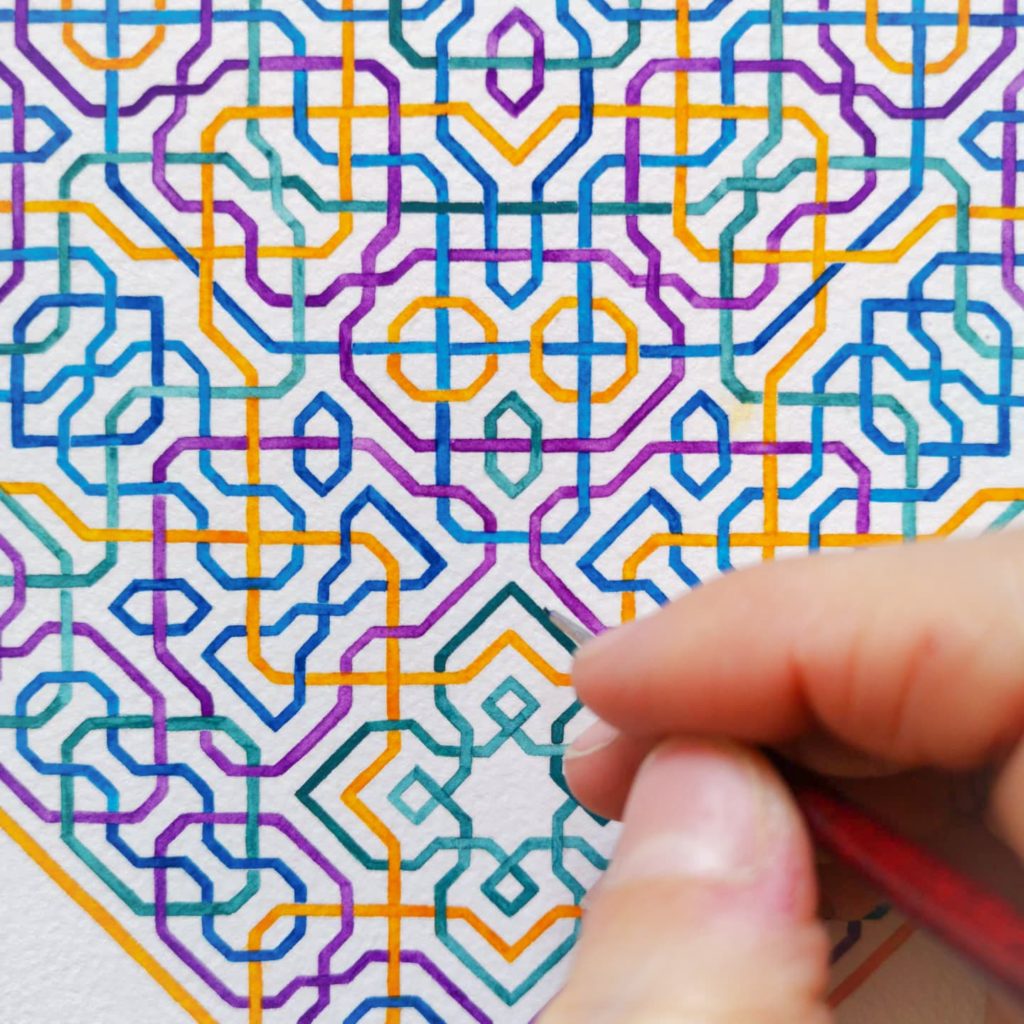
Raise your hand if you think that weaving a geometric pattern is so satisfying.
Weaving creates space between the shapes, and I think there is nothing more elegant than that.
But what does “weaving a geometric pattern” means?
Technically speaking, weaving is made of interlacing channels, and the channels are created around the lines that form a pattern. Drawing channels for weaving means that once you finish your design, you have to draw each line again but twice, on the right and on the left of each pattern line. I know, don’t say a word.
Keith Critchlow has a more romantic way to look at weaving, and he explains in the book Arts and Crafts of the Islamic Lands “ Islamic patterns are expressed as woven. This weaving effect has a double – or more – symbolic meaning. It touches on the personal path where an individual’s ‘way’ meets that of another and a decision has to be made either to be ‘submissive’ (go below) or ‘assertive’ (go above) which roles alternate. The second meaning touches on universal symbolism – one that all important human traditions have subscribed to.”
There are different ways to create those channels. I know 5 of them, but if you know another method don’t be stingy and share it with us in the comments below.
So let’s see them all:
PRECISION RULER
This is the first method I tried.
This ruler comes with a grid printed on it. It’s usually a 5×5 mm grid which allows you to make channels of 1cm width; thus, it’s excellent for big patterns.
It’s really easy to use: align the line on the paper with the line on the ruler and draw the top line of the channel. Rotate the paper and draw the bottom line.
-
Your aim is to create smaller patterns I suggest buying the quilter’s ruler. The grid on it is typically 2.5×2.5 mm, and you can develop thinner channels – 5mm width.
-
Find this method to be straightforward and accurate, and the ruler is not expensive.
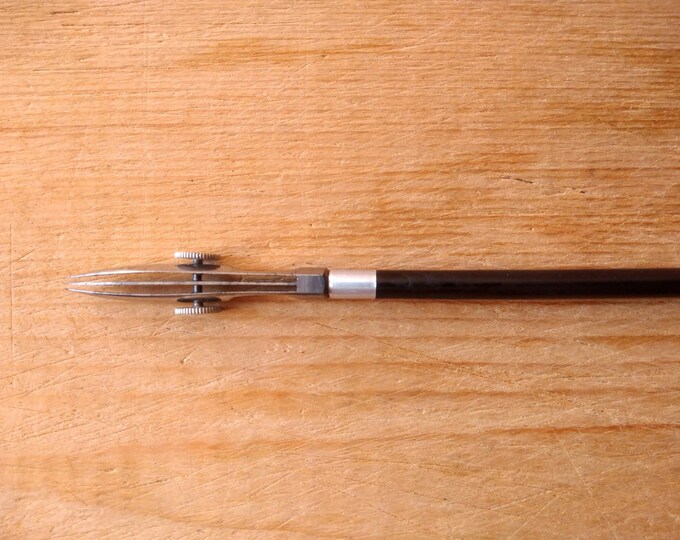
DROP-BOW COMPASS
If you don’t know what a drop-bow compass is, read this blog.
If you have a drop bow compass finally you get the chance to use it.
Point the compass on each intersection and draw a circle. Each circle will be used to create a channel which is as wide as the diameter of the circle.
This method is easy to use, but I find it to be time-consuming. Also, I think it’s a tad inaccurate for small designs as it gets challenging to place the compass correctly at such a small scale.
LETTERING GUIDE
This is a strange tool used for lettering but it’s quite amazing when it comes to create channels as well.
Alan Adams showed me this tool, and it’s absolutely my favourite when it comes to medium-sized designs.
To create the channels align your ruler to the line on the paper. Align the lettering guide to the same line on the paper but on the other side so that the ruler and the lettering guide touches. Put the point of your pencil inside one of the holes on the guide and draw the parallel line sliding the lettering guide on the paper.
DOUBLE PENCIL
The easiest of it all this is the method for people who don’t want to spend money on fancy tools.
Just tight up two pencils together to draw 2 lines in one go. The line on the paper should be in the middle of the two pencils when drawing. This method is really cheap, but it can be used only on big designs.
BY EYE
I shouldn’t say that, but this is my go-to method. Drawing channels on miniature patterns is super time-consuming and difficult. Any of the above techniques can be used except for the drop bow compass, so I eyeball it all.
I use an ordinary ruler to draw the top and bottom line of the channel by eye. This method is really simple and inexpensive but is also less accurate.
If you are more of a visual person I’ve created a video tutorial explaining how to create the weaving of geometric patterns.
Now that you have your channels it’s time to create the weaving of your geometric pattern.
Every intersection between two lines should be closed in order to create a weaving effect. On one intersection one line goes above the other while on the next intersection the same line goes below the other. And so on and so forth.
***Affiliate disclosure: This blog post contains affiliate links which means that I may earn a small commission – at no extra cost to you. This helps to support my work so that I can continue to make valuable free content for you.***
Weaving a Geometric Pattern
June 11, 2020


I wish I had the confidence to draw weaves by eye! I always measure a few millimetres either side of the line at multiple points then join them up. I’m tempted to try one or two of the above methods though! Thank you! Xxx
Weaving gives so much elegance to the pattern but you need double/triple the patience you need to draw and trace the pattern.
Well it would be better if I could insert a photo here but it won’t let me.
1) take the point out of the compass and replace it with another piece of lead. So now you have two pencils and you should be able to adjust them very close if needed. Keeping them at the same length and sharpness is a little tricky but once you get it adjusted it is great. (not all my compasses will adjust really close together, but I’ve found one that will move the two lead points in until they touch – this is when the lead points insert at an angle)
2) tape two rulers together with a gap between them. I use two right angle small straight edges. Lightweight and transparent plastic so I can see through them. It will take a few minutes to adjust the width of the gap and make sure they’re parallel, but this can work as well.
You can still use the drop bow compass to mark the channel widths. I tend to do this by eye as well though.
Oh my goodness Kamille you are amazing.
Thes tricks are awesome. I’m gonna steal them and add them to the blog one day. Of course I will give you credit for these.
I like the compass option.
[…] Weaving a geometric pattern […]