How would you feel if you didn’t know how to fix watercolor mistakes?
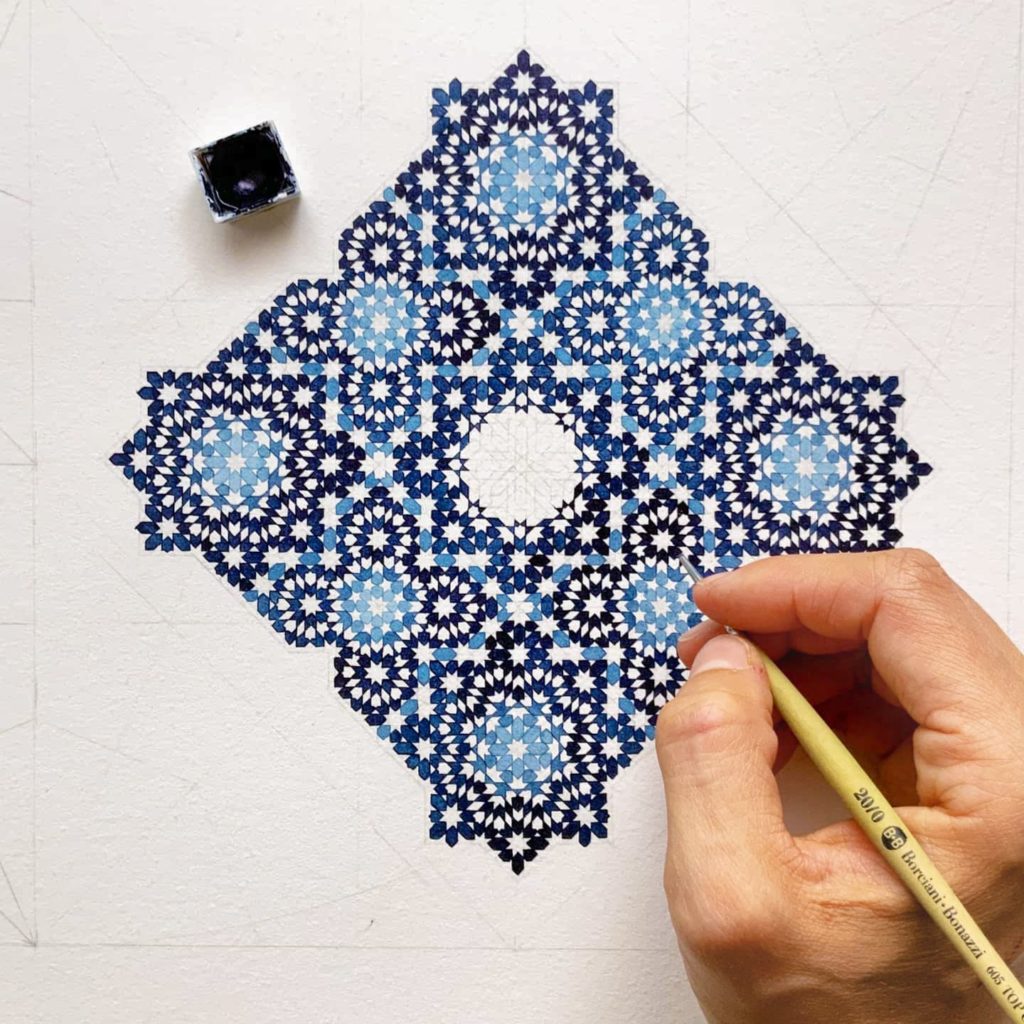
Imagine you have spent 10 hours, or maybe even a week or two, painting this beautiful design that has been on your to-do list for months.
Imagine you are using a high-quality cold-pressed cotton paper, the one that looks so good on Instagram with the sunlight coming from your window. You have spent 10 Euros just for that sheet of paper but who cares, this design is going to be framed, so it has to look good.
Now imagine you are close to finishing the piece and you accidentally sneeze and a drop of colour falls off of your brush right where the design is not. Yes, that’s exactly what happened to me 3 years ago. I don’t even need to say how panicked I was, do I? But everything happens for a reason. I still have to figure out what was the reason, but I will get it one day HA!
Anyway, if something similar has happened to you welcome to the club. If it still hasn’t happened well sooner or later, all this will become a reality, so listen up. Today I’m going to explain how to fix watercolor mistakes without attempting suicide.
Be aware that this is my experience with watercolors. I don’t know if it can be applied to other medium so test it out to be prepared when the day comes.
The result also depends on the quality of the paper. If the paper is absorbent, it will lock the pigment inside its pores, which means that it’s almost impossible to erase the stain. This happens with cold-pressed paper while hot-pressed paper takes longer to absorb the paint. I’m not saying that hot-pressed paper is better than cold-pressed. With hot-pressed paper watercolour floats on the surface before being absorbed, which means that it is more likely to bleed and cause unwanted problems.
Before trying any of the following advice CALM DOWN.
Don’t try to fix watercolor mistakes with your hands shaking or heart-beat breaking your chest. You will just make it worse. So take a deep breath and:
1. LIFT IT UP
The first way to fix a mistake is to lift up the colour with a brush. It is better to do this while the colour is still wet on the paper, although it can be done with a dry stain too. You just need to dump the area first. Also, this method can be used if the colour is a light one.
Use a clean brush, wet it (not too much water though) and carefully lift the colour up, clean the brush and repeat it until the area is clean. Do it carefully without touching the colours close to that spot; otherwise, they will bleed, making it all worse than it already is.
Once finished, let it dry before continuing.
2. RUB IT
This method is similar to the previous one, but instead of using a brush, you should use a wet towel (again, not too wet).
Try to lightly rub the towel where the stain is. Try to remain inside the area of the stain; otherwise, you will just make it bigger. I usually wrap the towel around my brush handle so that I can use the rounded tip, which is firm and thin. Also don’t rub too much or you will ruin the sizing and eventually the paper. Leave it to dry and repeat if necessary.
3. SCRATCH IT
This is really dangerous and has to be done very carefully.
If the colour is a staining colour and the previous methods haven’t been of any help try to scratch the paper with a small scalpel. Try to scratch the surface without going too deep, or you will ruin the paper. If you scratch too deep and you paint over that area the fibres will absorb the paint and spread it in unwanted areas.
4. COVER IT
This can be the first thing to try as well as the last one.
If the stain is right where you should paint, you can just cover it with another colour. Otherwise, here is your last hope.
If any of the previous methods haven’t worked out, I would suggest you cover the stain with a design or something. Maybe you can think to add some arabesques or something else. Esra from Islamic Illumination can teach you something about it.
Sometimes it can turn out to be better off this way than the way you intended it to be.
5. USE THE MAGIC SPONGE
I personally haven’t tried this method yet since I’m too lazy to go buy a magic sponge. But one of my followers suggested this to me and says that it does wonders. Keep you posted.
By the way, I know that many of you are visual people so I’ve recorded a free video tutorial on how to fix a watercolor mistake. You can watch it here 🙂
How to Fix Watercolor Mistakes
September 3, 2020


There is very famous Persian painter, Mahmoud Farshchian, he created many Persian miniature masterpieces.
When I was a kid I thought what will happen to him if the bowl of water or some paint ruin his work! It was and still is a nightmare for me
Very helpful post, thank you so much!
It’s very possible that at the 3rd point some text disappeared, after the word ‘fibers’
Oopsie I corrected it. Thank you for noticing
Painting, even more with watercolors, is a nightmare for me. At one moment, the flow of water goes out of control, the pigment go when they don’t have to be… Very difficult and a moment of fear for me
I think ‘calm down’ is the best bit of advice. But the other advice is also really good. Thanks Sandy.