


Let’s be honest. I’m a sucker for accuracy. I can’t stand the shaky lines or rounded corners. This is why I love showing people how they can easily improve the accuracy of their geometric drawings in 3 steps.
Let’s define what accuracy is first, shall we?
- In maths, accuracy is how close a measured value is to the actual (true) value.
- In geometry, this can be translated as the degree to which a given pattern or design is correct and free from error.
Being 100% accurate is almost impossible unless you are using a computer program. Nevertheless, my aim is to be as accurate as I can to avoid asymmetries and mistakes.
What is my secret?
1. SET THE COMPASS PROPERLY
Do you hate when two circles are not perfectly tangent as me? Here are a couple of things you can do to improve:
- Put the pencil inside the adapter attached to the compass and adjust the steel point to be the same length as the pencil point. This setting will help you keep the compass perpendicular to the paper.
- Lean the steel point against your forefinger and slowly point the compass on the paper to do it accurately.
- Keep the compass vertical and use both your hands to rotate it if needed.
- Keep the lead short. When the lead gets shorter, the radius changes and we don’t want this to happen.
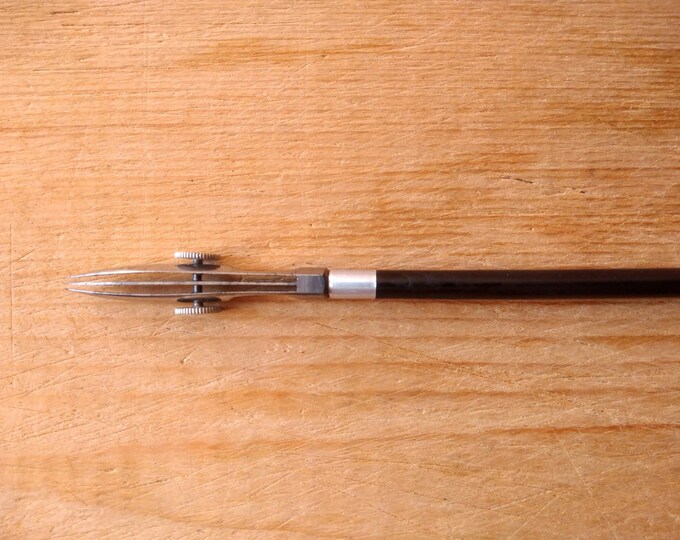
It is preferable not to change the radius of the compass to avoid mistakes and inaccuracies, so in case you have different circles use different compasses. Use the divider to mark the divisions on the circle and the points where the compass should be pointed.
2. FIND A GOOD RULER
A good grip on the ruler is essential to prevent it from slipping away. Before tracing a line check the alignment of the ruler to the points on the paper with the tip of your pencil.
Transparent plastic rulers are good because you can see through them, but the edges are really fragile. Handle them carefully. For example, this is my favourite ruler. It’s transparent, has a metal edge and has a grid perfect for weaving.
3. BUY THE PERFECT PENCIL
Every pencil is the same right? WRONG!
I’m not talking about the difference between a regular pencil or a mechanical pencil. Use whatever pencil you are comfortable with but use a hard lead pencil. 2H, 4H or even 6H. The harder the lead, the thinner the line and the more accurate you will be. But be careful, hard lead marks are difficult to erase.
Another good thing to do is to always keep a paper tissue under your hand. In this way, you will avoid the moisture on your hand to be transferred to the sheet of paper. Lines will remain crisp, and you will avoid smudges.
In other words, the accuracy of your geometric drawings is a matter of practice and patience but these 3 rules will help you stay neat and step up your game. TRUST ME 🙂
If you are a visual learner, I’ve included these tips and other stuff in my free video training “how to improve your accuracy”. You can watch it here.
***Affiliate disclosure: This blog post contains affiliate links which means that I may earn a small commission – at no extra cost to you. This helps to support my work so that I can continue to make valuable free content for you.***
3 Rules to Improve the Accuracy of your Geometric Drawings
January 22, 2020


Awesome tips! I was finding before that my pencil became dull quickly. As the lines became thicker it was harder to stay accurate. Definitely going to try your tip of using a pencil with a harder lead!
Amazing tips, Basic yet very informative, these are fragile things where we very generally go wrong and the figure is miss balanced.
Thank you for sharing your secret with us.
Thank you for reading 🙂
Thank you Sandy for sharing your secrets with us. I knew about the hard pencils (I buyed some accidently) and I love to use them too, but the tips with the compass and the ruler are new for me and just wait to be tried out! Hopefully soon! 🙂
Thanks Sandy.
You mention using a divider – can you say a little more about this please?
I found using a mechanical pencil really helped me but I’m still having precision issues on some designs.
I’m going to talk about dividers and the different types of compasses in another post. Precision is a matter of different factors: tools, mindset, hand, comfort, practice etc. You have to work on every aspect and keep practising.
Awesome
Thank you 🙂
Sound advice, but no matter how many times I try, I am yet to draw an accurate pentagon using a ruler and compass. Any failsafe tips for those, Sandy?
pentagons are really difficult to draw. I still make mistakes even after years of practice. Once you divide the circle into 5 if it’s not accurate then adjust the compass slightly and try again.
"Lean the steel point against your forefinger and slowly point the compass on the paper to do it accurately. Keep the compass vertical and use both your hands to rotate it if needed."
I am confused what you are trying to say in these lines. An accompanying image will help.
But, thanks a lot for the rest of the useful article. 🙂
Great Blog!!! found it helpful specially the 3rd tip (at least for me)
Keep it going!!
Love your tips! This is such a specialized art form and I’m so glad I just discovered it.