


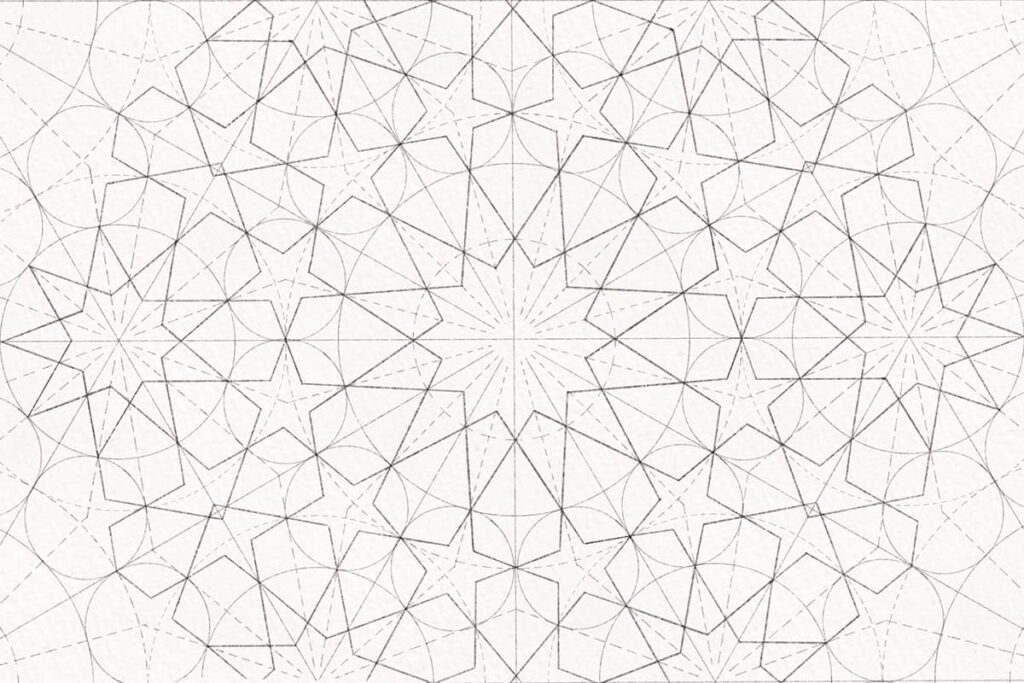
Whether you just started out or are a seasoned artist like me (btw whenever I use the word “seasoned” I feel like a chicken in the oven HA!), you know how tedious Islamic geometric pattern construction can be at times.
The circle division alone can take quite some time, especially when you work from 16fold patterns up.
I’ve been constructing geometric patterns for many years, and I now know that not everything you do or they teach you to do is fundamental for pattern construction. Let me explain.
When you are a beginner, you tend to draw literally every line or circle because you are afraid to forget a certain step or not be able to read your construction after some time. Am I right?
And that requires a LOT of time.
The more you practice, the easier it becomes, and you will come to a point one day where you will understand how a geometric pattern has been constructed just by looking at it. But there are 3 ways you can improve your drawing and make your Islamic geometric pattern construction faster.
By the way, if you want to have this skill and be proficient at pattern analysis I suggest you enroll in my course “Islamic Geometric Patterns: Analyse and Construct a Zellige Pattern”. I guarantee you that this is the only course out there that teaches you pattern analysis.
1. Circle division
This one can be applied by beginners too, and it allows you to make your drawing faster without losing any information necessary for you to decode your construction in the future.
This can also be divided into 2 parts as well:
- The first part is drawing multiple circle divisions in one go. This allows you to train yourself and become proficient at it.
- The second step is to use tracing paper and copy the circle division multiple times to have the templates ready when you need them.
You can start using the tracing paper method straight from the beginning although this will not allow you to be trained in circle division and comfortable with it.
This is my favourite way to make my drawings faster and easier, allowing me to experiment and construct many patterns in a fraction of time.
Pro tip: Find some time to sit down and batch work. Draw one circle division per sheet of paper and make different divisions. This tedious process will save you some time and will allow you to jump into the pattern construction without wasting time and effort on circle division.
2. Drawing only what you need
I suggest you use this method once you are accustomed to pattern construction.
Have you ever looked at one of the constructions from Ambigraph and wondered how he has done that? I’ve been there (multiple times also). What Ameet does is draw only a small portion of the line or circle only where it’s needed instead of filling the construction with long unnecessary lines that make your construction clumsy.
If you know that a certain line is needed only to find an intersection and will not be used anymore, then connect the two points with the ruler but only draw 1 cm of it exactly where the intersection is (or where the intersection should be). In this way, your drawings will look neat and elegant instead of a smudgy web of lines. The same can be applied to circles.
Pro tip: when you are transitioning from drawing the full line/circle to just a tiny bit, I suggest you write notes on the side of your drawing to remind yourself what you did. At some point, you will be comfortable enough to skip the notes too.
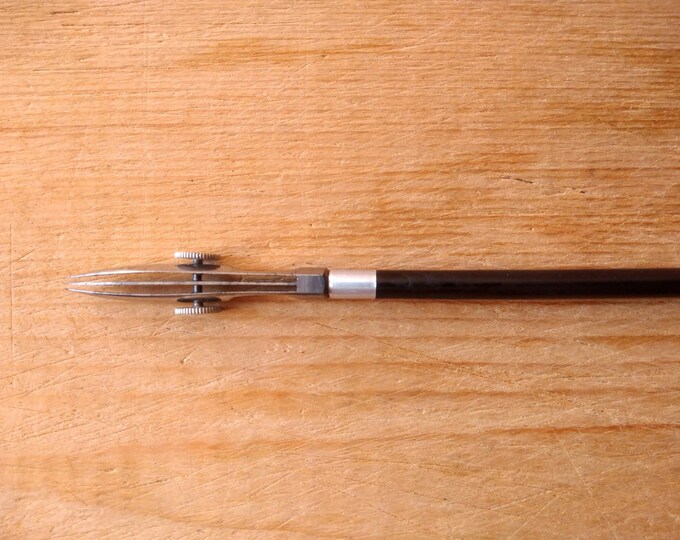
3. Different compasses
I’ve already written a blog post about this topic, and I cannot describe how my drawings have improved thanks to this. Using different compasses allows you to be more accurate while also saving a lot of time.
When you use only one compass, you have to change the radius from time to time to draw different circles. And when you need to use the same radius as the one you used before, you spent time trying to figure out the radius.
And guess what? You will never match the same exact radius, and you will end up with an unbalanced design. You might also end up erasing some parts and redoing them again because of that (grrr… the worst thing ever).
So do yourself a favour and invest in at least another compass.
Pro tip: buy different types of compasses too. I am sure you will need a drop bow compass or a beam compass one day, and it’s better to have one rather than spending time trying to figure out how to make your 6-inch compass draw super tiny or huge circles. If you need more guidance you can download this freebie.
I hope this blog post has been helpful and that it will allow you to improve your drawing skills and make your Islamic geometric pattern construction faster.
If you have any other tip to share that you see has made your construction quicker let me know in the comments below.
3 ways to make your Islamic geometric pattern construction faster
July 17, 2023


Tank you so mzch Sandy I love your blog ans blog tips.